How to use Contact Form 7 without dying trying

Every web page needs a Contact Form. In fact, this is a reality, and it is undeniable. We need users who visit our website to be able to consult us about our content, products or services.
Starting from the base that we are working with wordpress, we can use the plugin Contact Form 7. It is the most recognized within the WordPress ecosystem when it comes to making contact forms. This plugin gives you great flexibility and efficiency when it comes to create your own contact form on your website.
In this article I am going to explain, in a simple way, how to use Contact Form 7 without dying trying.
Contents
How to create a contact form
To create a contact form with Contact Form 7 you only have to perform the following steps:
- Go to the tab Contact in the left sidebar and click.
- Once inside, click on the button above called Add new.
- Give your new contact form a name just below the text Add new contact form.
- Click on the button on the right called Save.
With these steps you will know how to create a contact form with Contact Form 7 on WordPress.
Add fields to the contact form
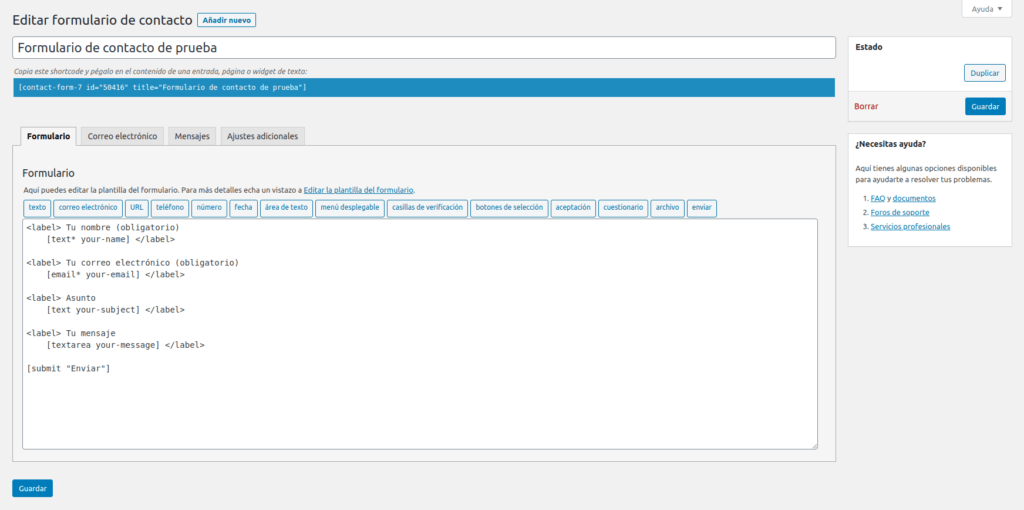
Now that we've created the contact form, it's time to add fields to contact form.
First of all, we have to know what are the fields of a contact form. These fields are the questions we ask the user every time you want to write us a message. There are questions that are necessary, such as your mail address and message What do you want to convey to us? Then there are fields that aren't required, but are really useful, like your name and Message Subject.
From here, everything will depend on your needs. You can ask the user for their edad, for his locality or for any data that you really need to be able to work better with the query What will your user do to you? For add fields to contact form You just have to click on the buttons above the text that are blue. If we have to add the fields that I have been commenting on above, I would use the following field types:
- Email: mail address.
- Text area: message.
- Text: name, subject of the message, location.
- Number: age.
Configure email data
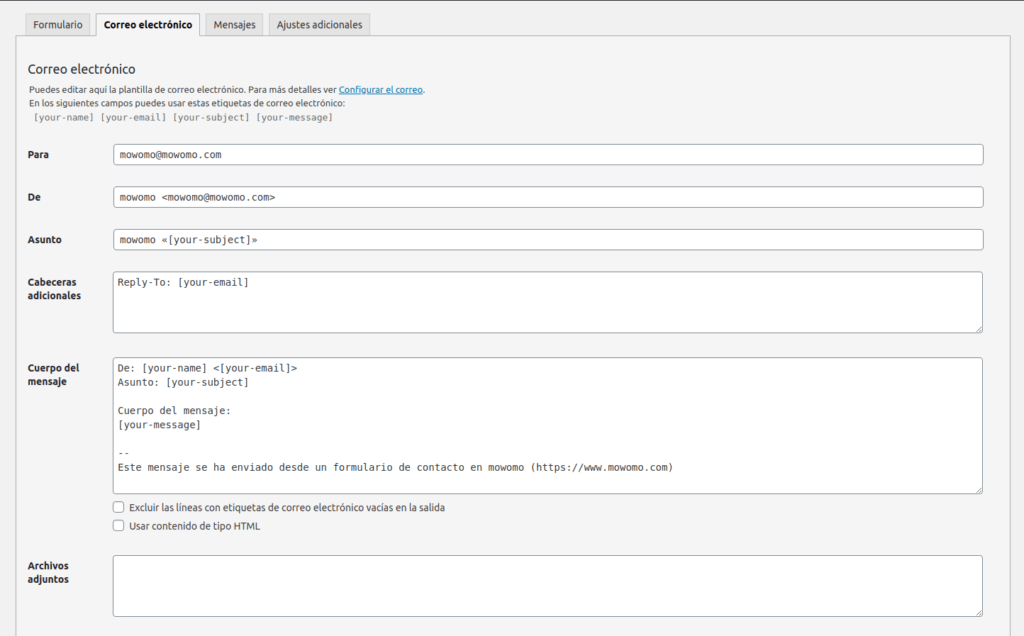
Now the time has come configure email data. These data are necessary so that the email generated by the user is sent to our email address and we can attend to your query. I will explain each email option step by step:
- For: This option is used to specify the email address to which the message made by the user will arrive.
- De: Here we specify the email address of the person who sent the email. Since our website is really the one that sends the mail, we have to put an email address according to our domain.
- Subject: This is the place where we will specify the subject of the mail that we will send to ourselves. Using the text [your-subject] we will show in the subject the subject that the user has specified from the contact form.
- additional headers: In this field we can specify if we want other email addresses to receive the user's email.
- Message body: We can fill in this field with the structure we want to receive the user's message in the most adapted way to our needs.
- Attachments: In this option we must include the [fields] of the contact form that are referred to the upload of files.
Modify the messages used by Contact Form 7
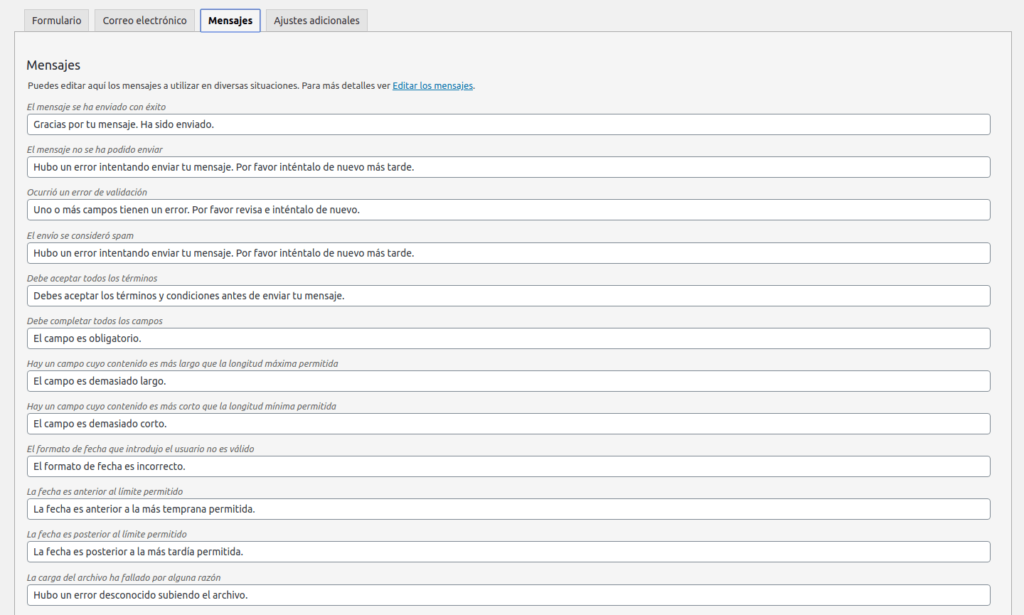
Contact Form 7 communicates both with us and with the user. Every time the user inserts a wrong field, has left required fields blank or other exceptions, Contact Form 7 launches a message. For modify messages used by Contact Form 7 To communicate with us we only have to fill in all the options that we have in the tab as we want. posts.
Useful plugins to complement Contact Form 7
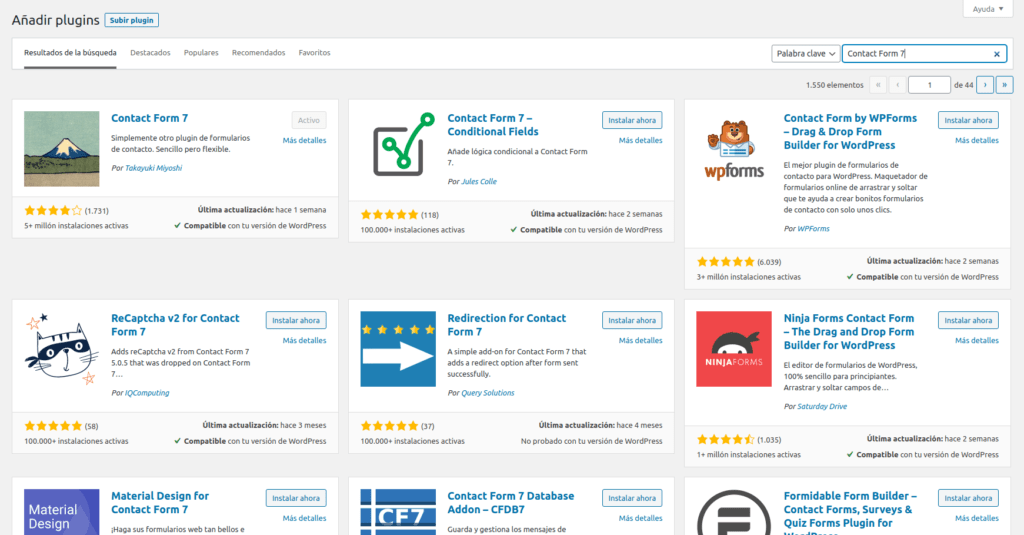
I have already commented before that Contact Form 7 is flexible, and one of the reasons for this is all the plugins created by the community WordPress to extend its functionalities. I leave you a list of those that, personally, I use quite often:
- If you want to add some logic to the questions you ask the user in your contact form, you can use the plugin Contact Form 7 – Conditional Fields.
- Sometimes you will need to redirect your user to a page after filling out your contact form. with the plugin Redirection for Contact Form 7 you can do it.
- When you want to save user emails in your database to be able to manage them better or to be able to export them to .CSV documents, you can use the plugin Contact Form 7 Database Addon – CFDB7.
- You may need to integrate PayPal o Stripe in your contact form. If so, I recommend using the plugin Contact Form 7 – PayPal & Stripe Add-on.
It is not always so easy to set up a contact form
There are times when we need to build a somewhat more complex contact form, which collects a lot of information from the user or has a lot of logic behind it. If that is your case, in mowomo we offer the task de add contact form.
in this task we will add that contact form to your website that you have been trying to build for a long time or, also, we can add the basic contact form what your website needs
Apart from performing this service, we also have many others that you can find here.
I hope this article has been helpful to you and, you know, you can always trust us to add your contact form to your website.
¡Subscribe to our newsletter and receive our offers, news and discounts directly to your email!


Hello, my question is: could the contact 7 email be sent right after the payment has been made correctly with Contact Form 7 -Paypal & stripe add-on?
Thank you!
Yes, it is an option of the PRO version of the plugin. It allows you to send the email before redirecting to the payment gateway, after making the payment or not sending it at all. The version of that plugin can be investigated here https://wpplugin.org/downloads/contact-form-7-paypal-add-on/ref/725/