How to add navigation to your web applications with React

Hello mowomo readers. Today I'm going to show you how to include a simple navigation system inside your React app. For this, we will use ReactRouter, a library that serves to do exactly this in a simple and efficient way.
How to start a project with React
The first thing we will do is create a workspace with which to start developing with React. For this, we will use npm, a package installer that is downloaded along with nodejs from here.
With this installed on our system, we run the following list of commands in a terminal. We open this in the directory where we want to start the project:
npm install -g create-react-app
create-react-app mi-aplicacion
cd mi-aplicacion
npm install
I explain step by step what each command does:
- First command: Install globally in our system the tool that will allow us to create workspaces for React.
- Second command: It makes the create-react-app tool create our project with the name that we have indicated.
- Third command: We move inside the project directory.
- Fourth command: it installs all the necessary project dependencies so that we can correctly develop our application.
With this we will have our workspace ready to start programming our application with React.
Implementation of React Router
Now comes the fun part, using the React Router library. We can find more information about it from its Official Site. Using this library is very simple, but first we will have to install it. To do this, we open a terminal inside the project and execute the following command:
npm install react-router-domWith the latter, now yes, we can use the library within our project. We will open the file in a code editor src/App.js located within the project. Inside this file, we will replace all the code with this one here:
// Dependencias generales
import React from "react";
import { BrowserRouter as Router, Route, Link } from "react-router-dom";

// Páginas internas
function Login() {
  return <h2>Login</h2>;
}

function About() {
  return <h2>About</h2>;
}

function Users() {
  return <h2>Users</h2>;
}

// Función del router
function AppRouter() {
  return (
    <Router>
      <div className={"site-content"}>
        // Menú de navegación
        <nav>
          <ul>
            <li>
              <Link to="/">Home</Link>
            </li>
            <li>
              <Link to="/about/">About</Link>
            </li>
            <li>
              <Link to="/users/">Users</Link>
            </li>
          </ul>
        </nav>
        // Anclado de rutas al contenido
        <Route path="/" exact component={Login} />
        <Route path="/about/" component={About} />
        <Route path="/users/" component={Users} />
      </div>
    </Router>
  );
}
export default AppRouter;
I explain step by step what this code does:
- General dependencies: All the dependencies that the code in this file uses to make it work.
- Internal pages: Here we will place the content of each page that we will have in the application.
- Router function: This function will create the routes of the pages that we want to have in the application.
- Navigation menu: It is a basic menu that will show the links so that we can navigate through our content.
- Pinned routes to content: They are the connections to the content that we give to each page.
With this we would already have a vision of a page like this (using the command asl start in a terminal inside the project):
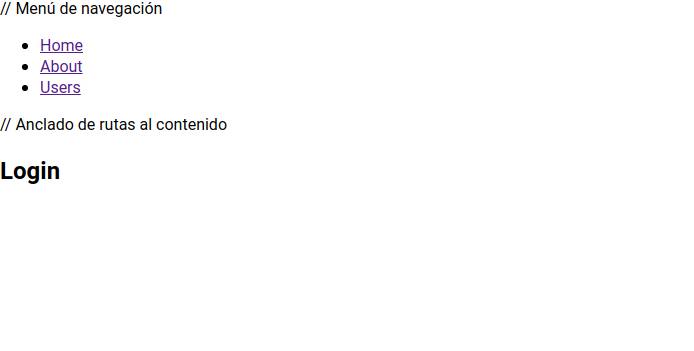
Well, we would have a project with navigation included ready to continue developing. I hope you liked it and you know, comment what you think in the comments.
¡Subscribe to our newsletter and receive our offers, news and discounts directly to your email!