Configure iThemes Security 2019
Today we are going to learn to set up iThemes Security 2019. This wonderful security plugin brings together all the necessary practices that our site is clean and safe from malicious hands.
En mowomo We prefer using this plugin over others, as it is easy to set up and includes all the options we need. Here I am going to show you how to configure its options and why.
Contents
- 1 Installation
- 2 Configuration
- 2.1 Global settings
- 2.2 notification center
- 2.3 404 detection
- 2.4 Administator user
- 2.5 Sleep mode
- 2.6 Banned users
- 2.7 Change content directory
- 2.8 Change database table prefix
- 2.9 Database backups
- 2.10 File Change Detection
- 2.11 file permissions
- 2.12 hide desktop
- 2.13 Activate brute force protection
- 2.14 Network brute force protection
- 2.15 password requirements
- 2.16 SSL
- 2.17 System settings
- 2.18 WordPress Salts
- 2.19 WordPress Settings
- 3 Records!
- 4 go PRO
- 5 Finish Configuring iThemes Security 2019
Installation
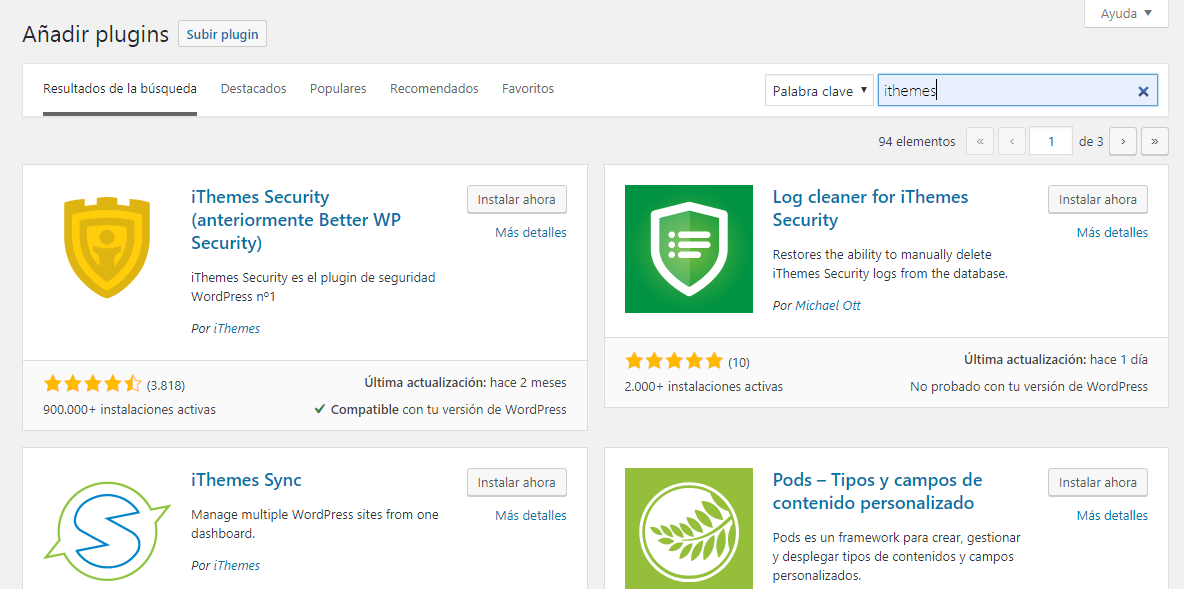
For install the plugin We will follow the following route: Plugins -> Add new and in the search engine we will put “ithemes”. And we add iThemes Security (formerly Better WP Security).
We will install and then activate, like all plugins.
In the side menu will appear a New Entry: Security. We will give the Settings option to configure iThemes Security.
Configuration
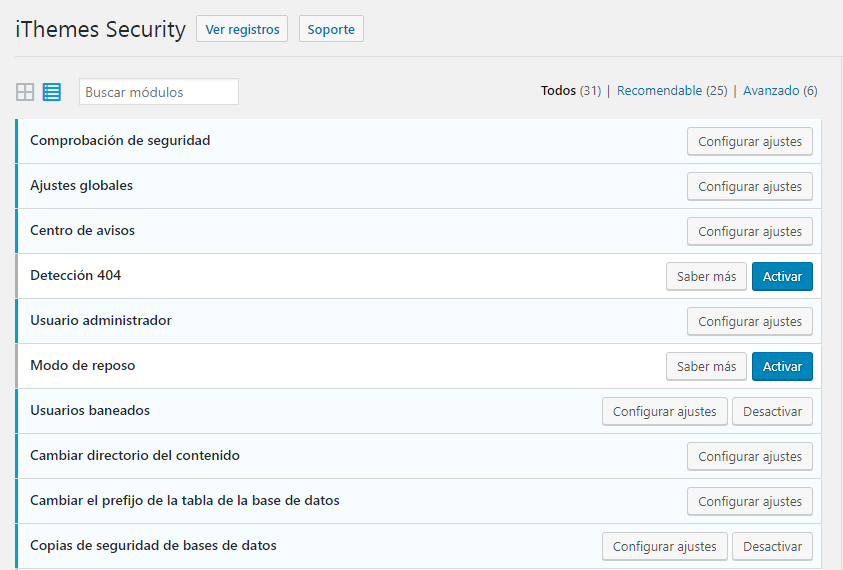
The first time we enter the plugin settings we will have some very useful default options. They are not mandatory, but except for a couple of options, the rest is fine.
Also, I recommend that you use the list view and have all the options in front of you, basically so you don't skip any steps. It has happened to me, it happens in the best families.
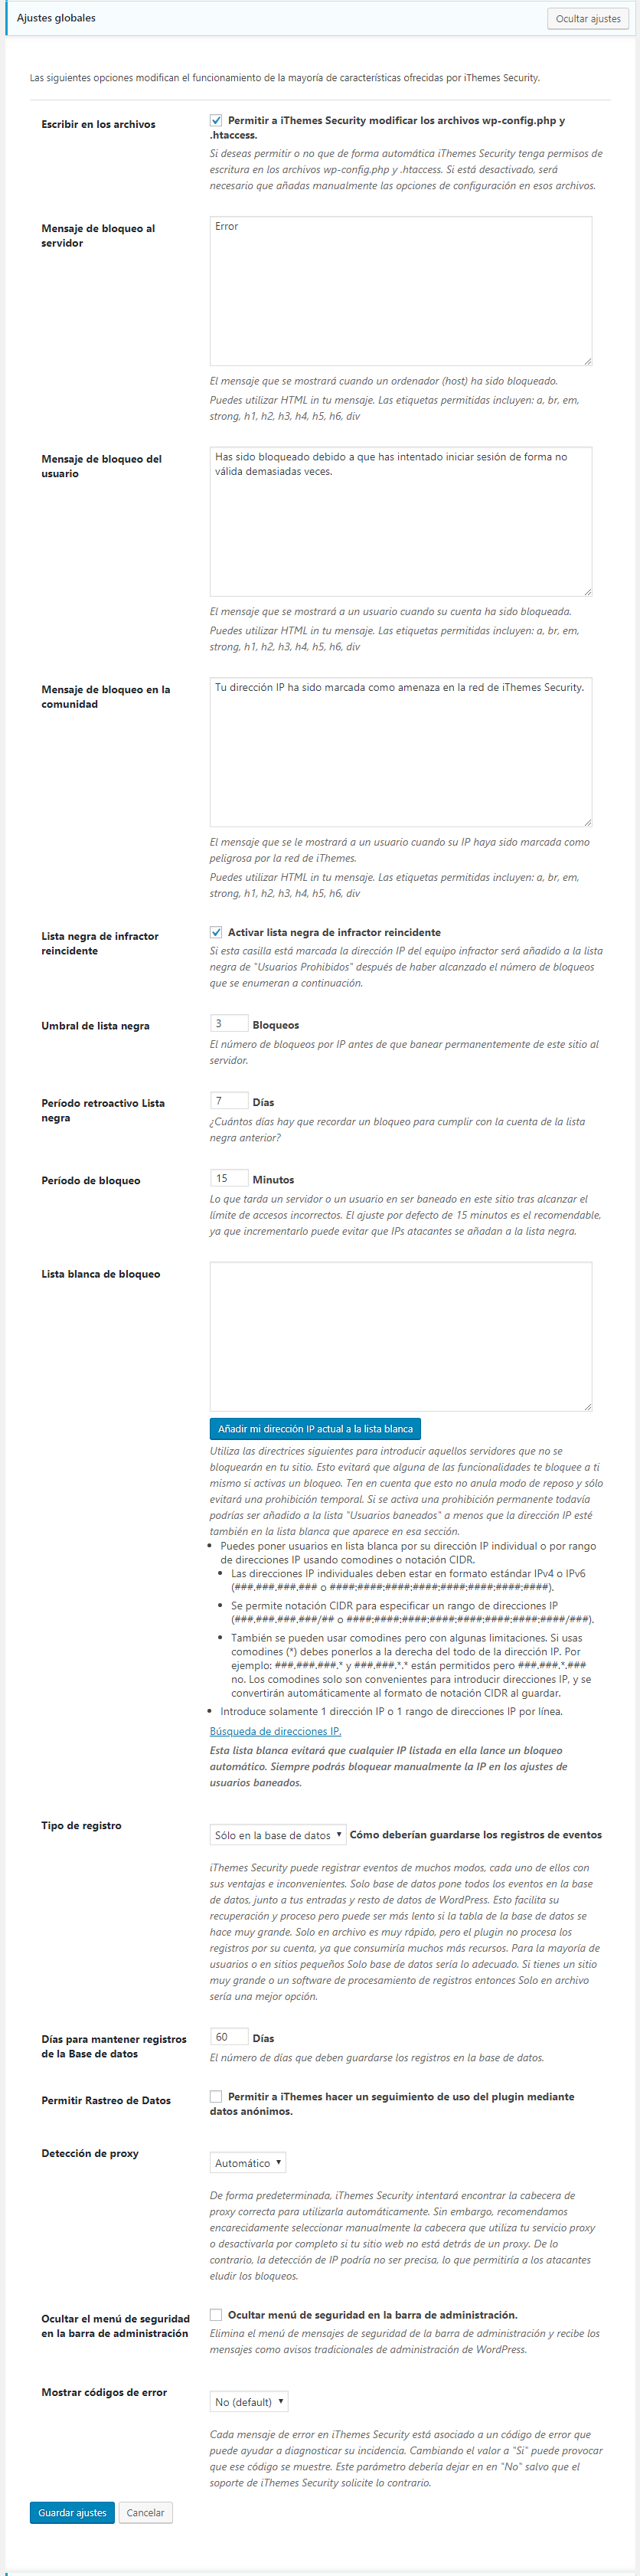
Global settings
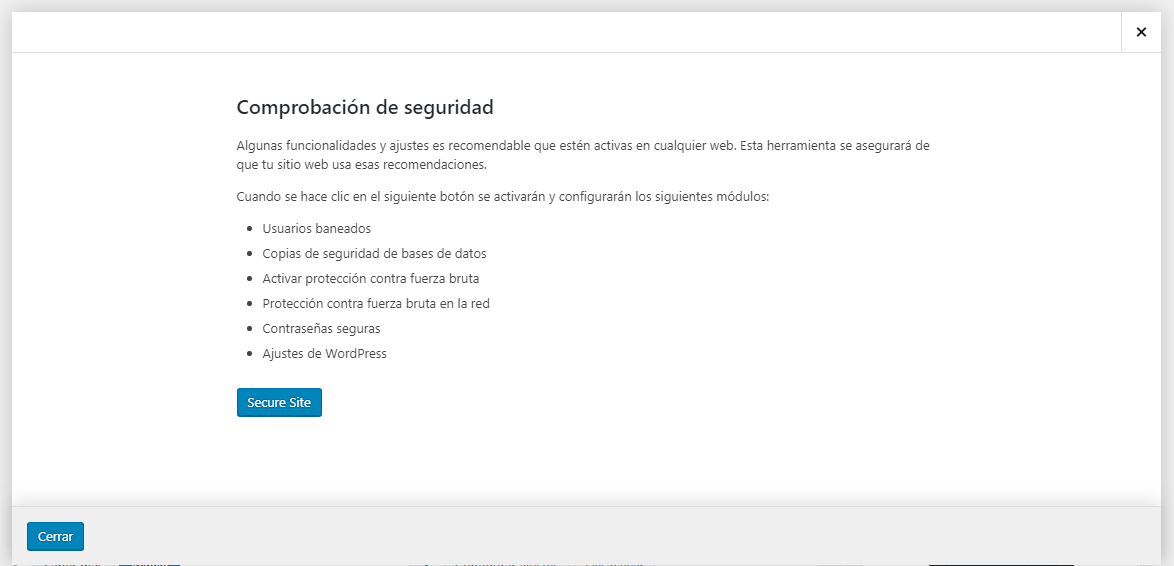
I am aware that the first option was "Security Check", but it's literally the initial setup for the first step, so it's done.
Here, the most important thing is to whitelist your own IP, using the blue button that says Add my IP address to the whitelist to be able to do the necessary tests and that your own site does not block you. Although the first option has to be activated for the plugin to make the changes effective. If you want to change any other parameter is the time, although as it is it will protect you what is necessary.
notification center
This step is very important to configure iThemes Security 2019, because if you don't configure it correctly, the notification emails will reach users who shouldn't. To do this, in the default recipients, indicate personalized and your user, or the one you want it to reach exclusively. If you do not have other users, configuring your mail correctly will solve everything.
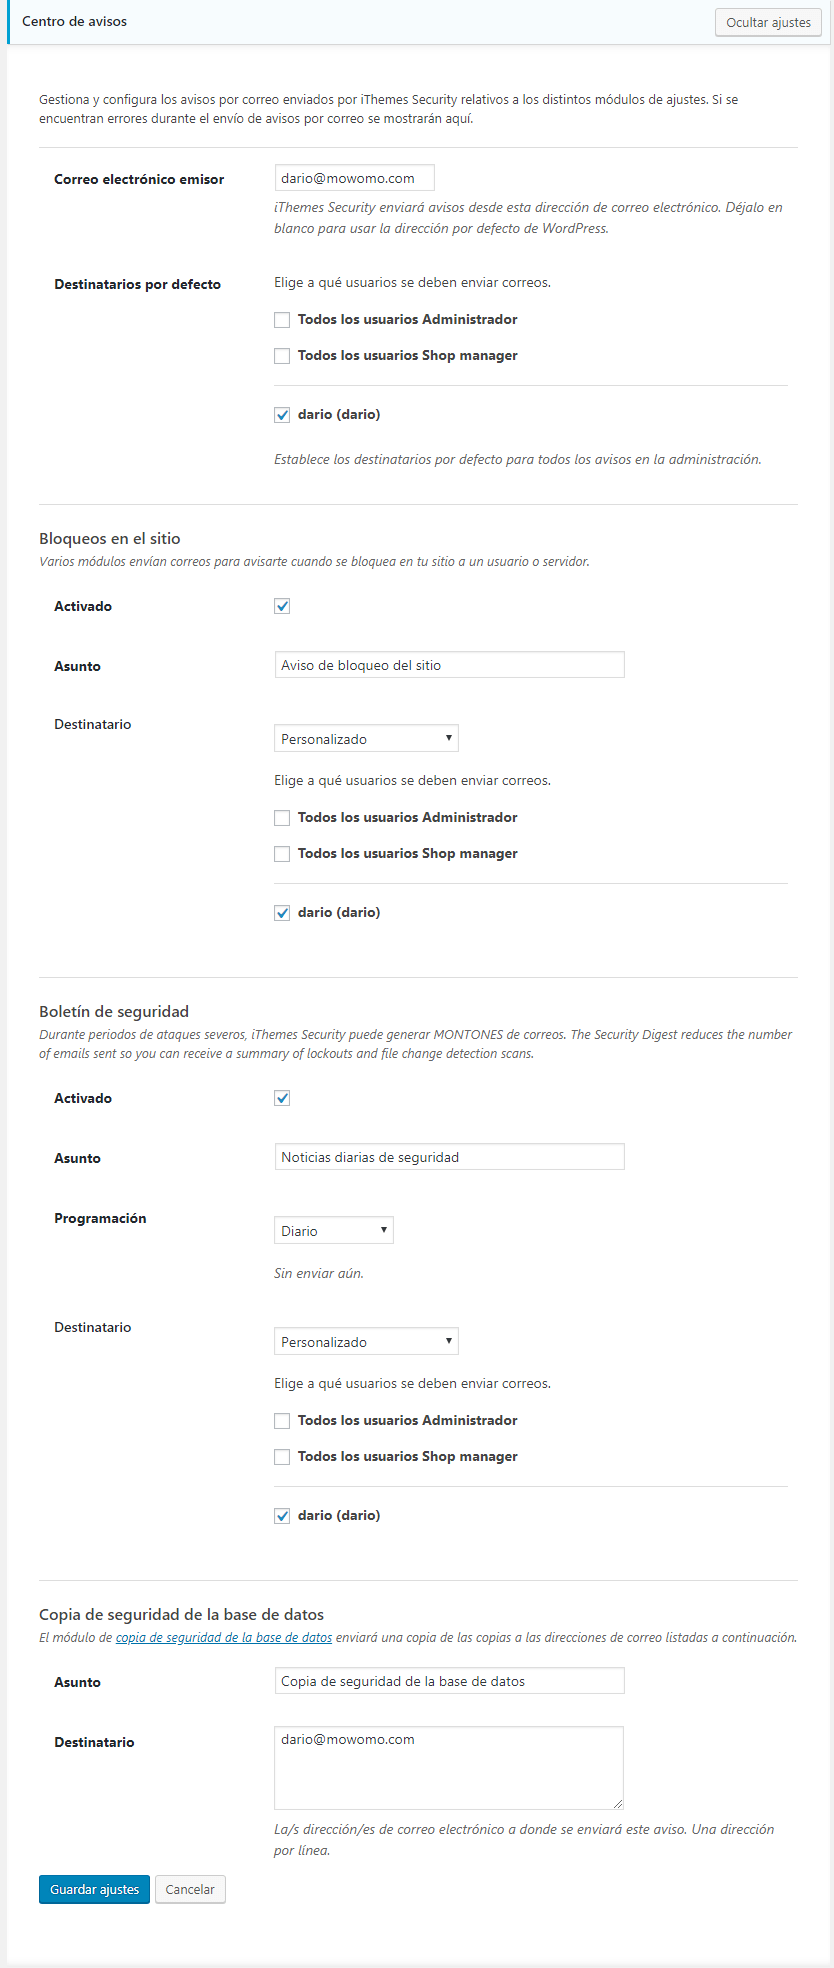
I feel obliged to warn you that Site locks it sends an email every time a server or an IP is blocked, so the number of emails you receive can be annoying. These emails are for informational purposes only., because the plugin already did the dirty work, so I recommend you not activate it and read the Security Bulletin diary.
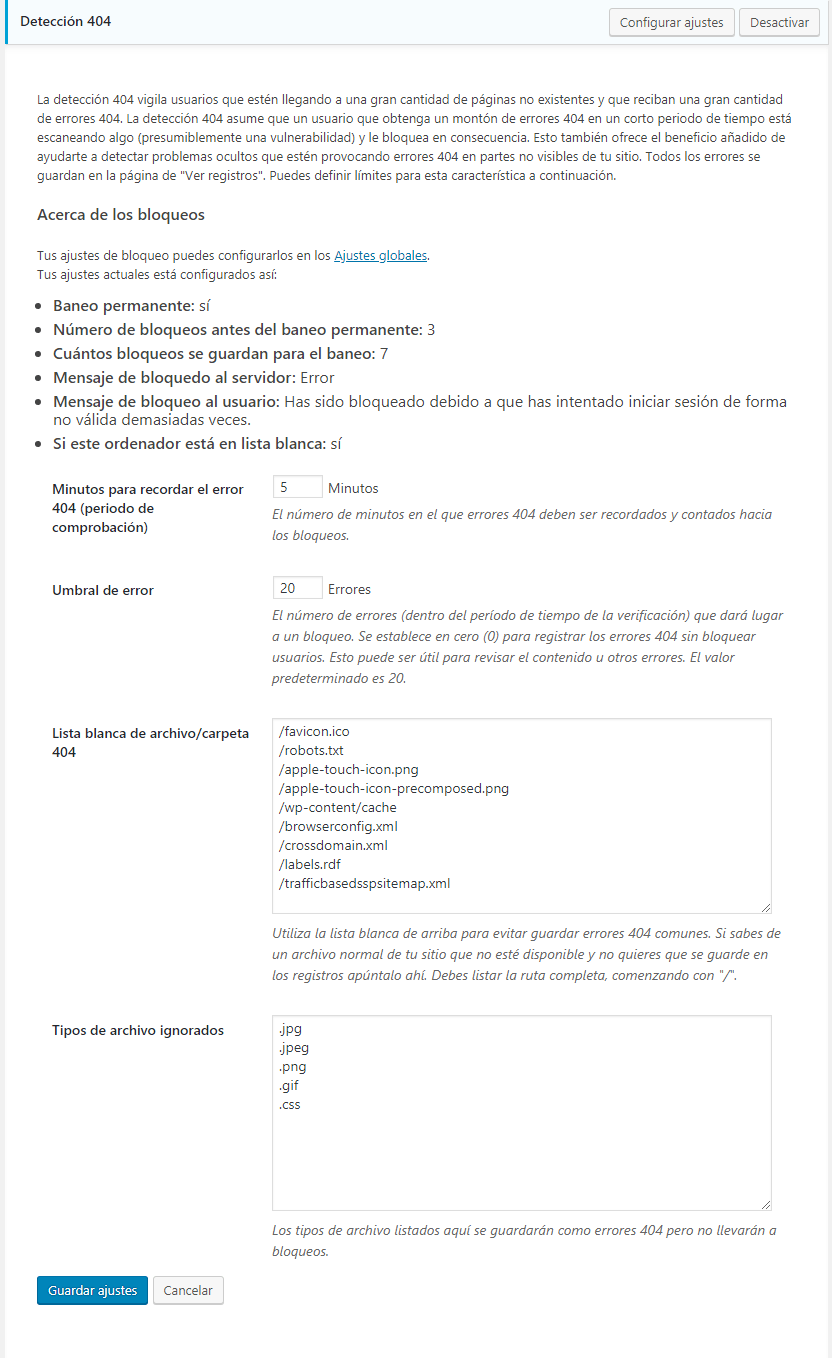
404 detection
This step is disabled and I still don't understand why.
Simply by activating it all the options are interesting and correct. Basically, this point blocks those who start looking for non-existent pages, a practice to find things that should not be seen.
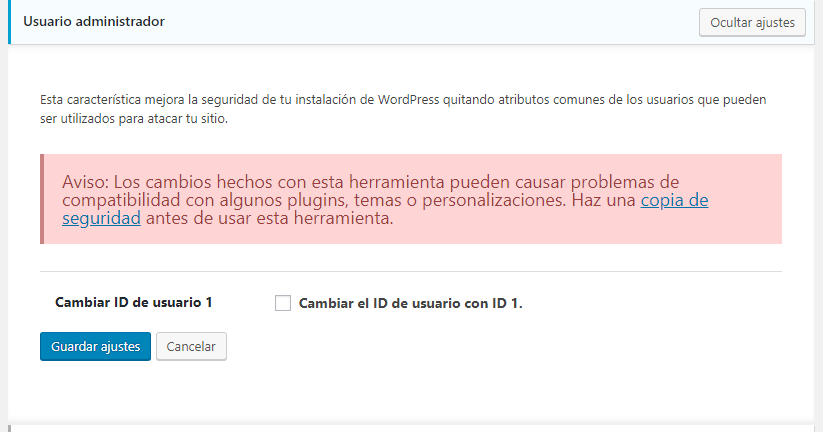
Administator user
In this option do not touch anything. I explain: As the plugin warns you, you can annoy things. Unless this is your first plugin on the site, a very good practice is not to activate it.
Sleep mode
This option is powerful, but you have to be well coordinated with all the users of your site. What it does is literally block the ability to enter the WordPress dashboard at the times you specify.
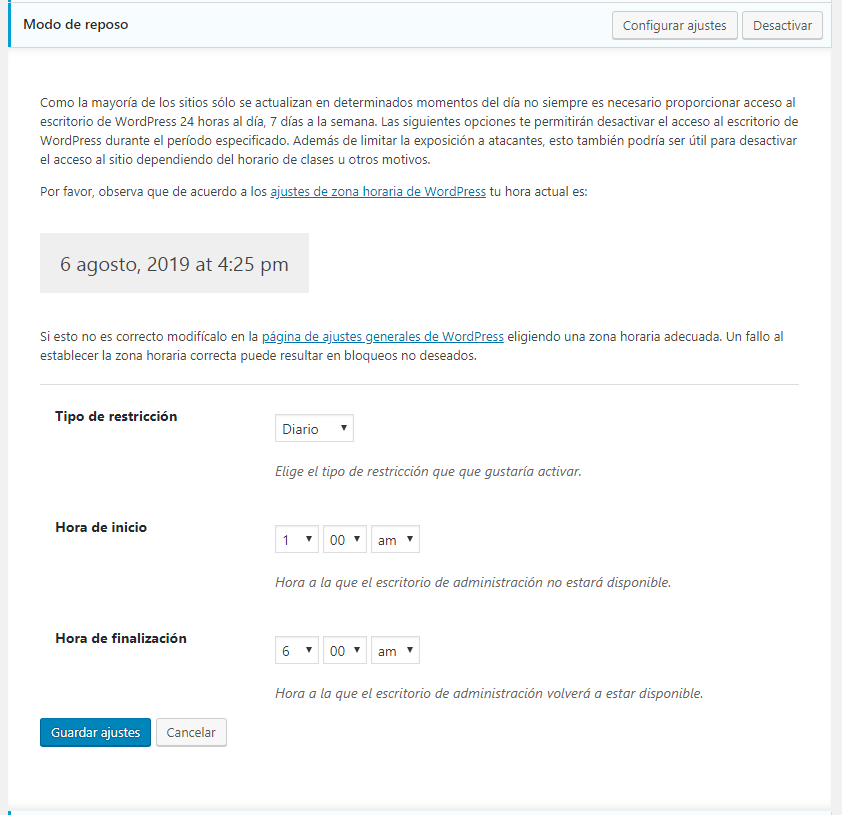
If you think that no one should enter the site at dawn, to give an example of a time slot, activate it to prevent evil minds from trying to enter your site.
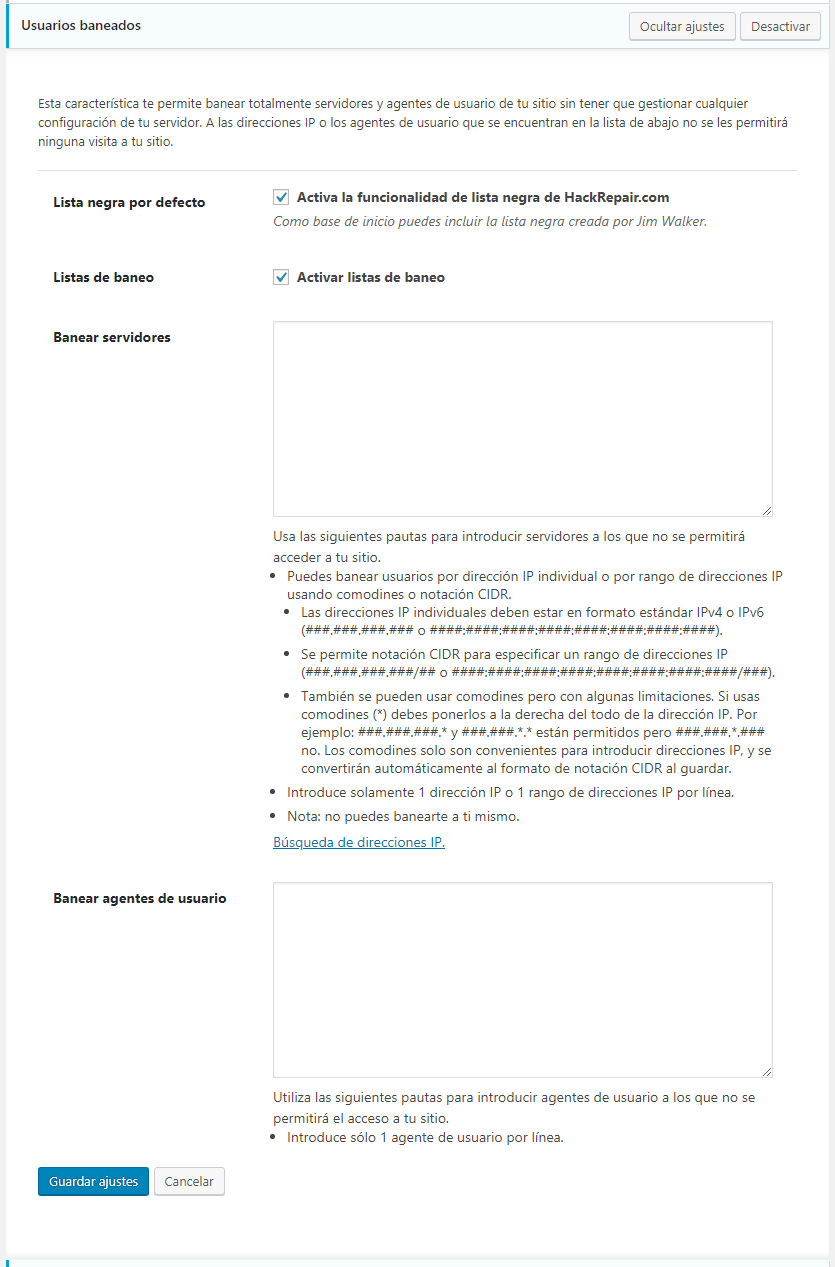
Banned users
This is where we can prevent certain IPs from entering our sitethey must have done something.
In the first option, which is disabled, we already have a good number of IPs, which are already known worldwide as bad people. In any case, if you are 100% sure that this person tried to hack you, add it here.
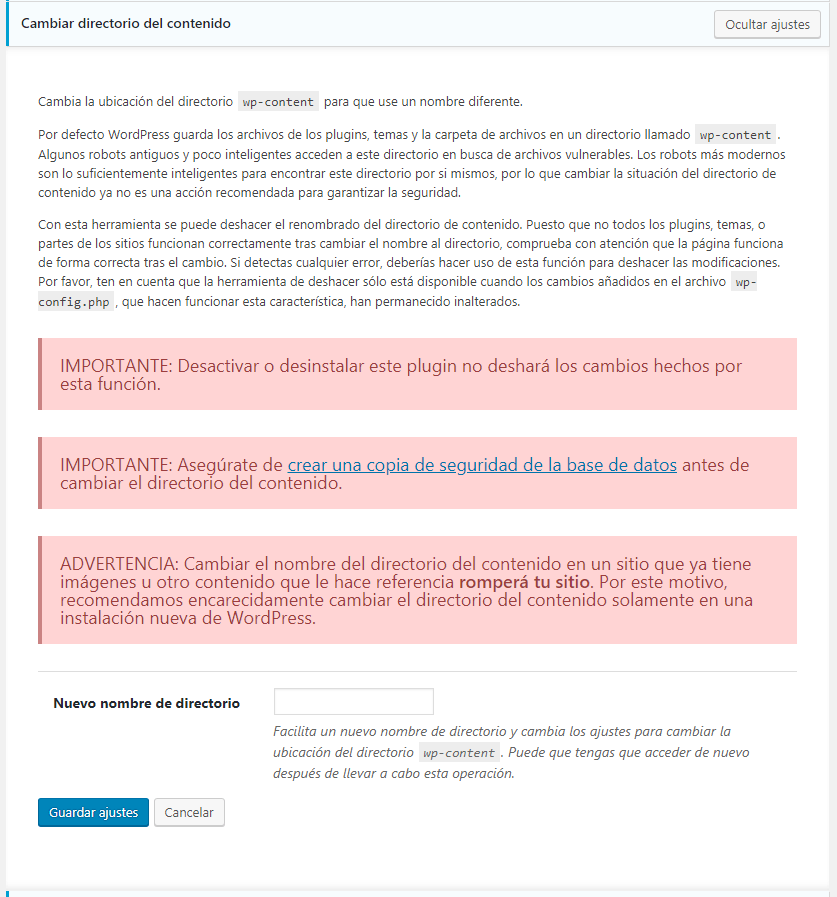
Change content directory
There are literally 3 red notices in this section. As I mentioned before, if this is your first plugin on your site, You can activate these options without fear, and they are highly recommended.
Change database table prefix
Another sore point. This time the only measure you have to take is to have a backup copy of the database, in case something goes wrong. Should not.
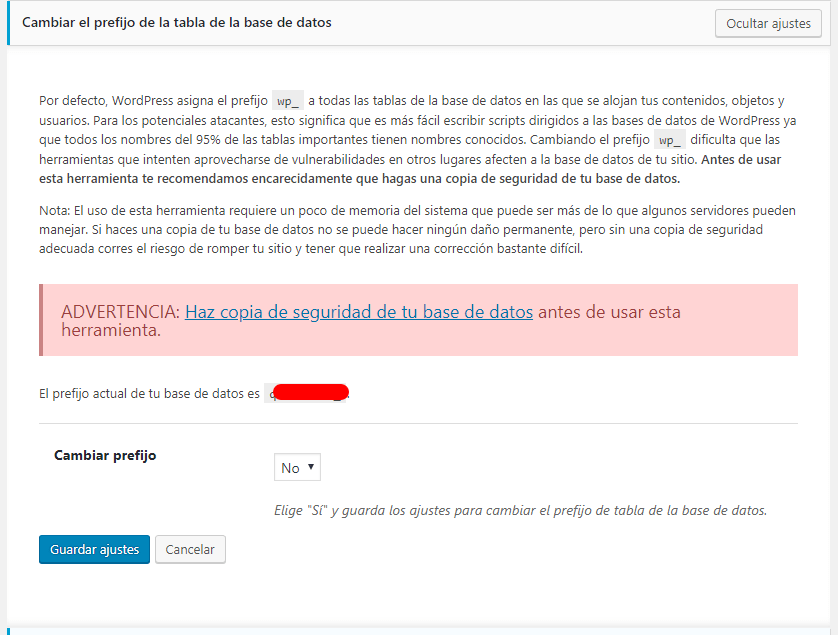
This option exists because the default option is wp_, it is very common hacker practice to try to break into this vulnerability. Normally, this prefix is not used once the database is created. I recommend that you hit the keyboard and what comes out is your prefix. I know I'm a lot of jokes, but this isn't it.
Database backups
I am very paranoid, so the more backups there are in this world the better I sleep. It's normal to rely on another backup plugin for this point, but I think it's not bad. Databases don't change much over time and they don't weigh much, you just have to be organized with your mail.
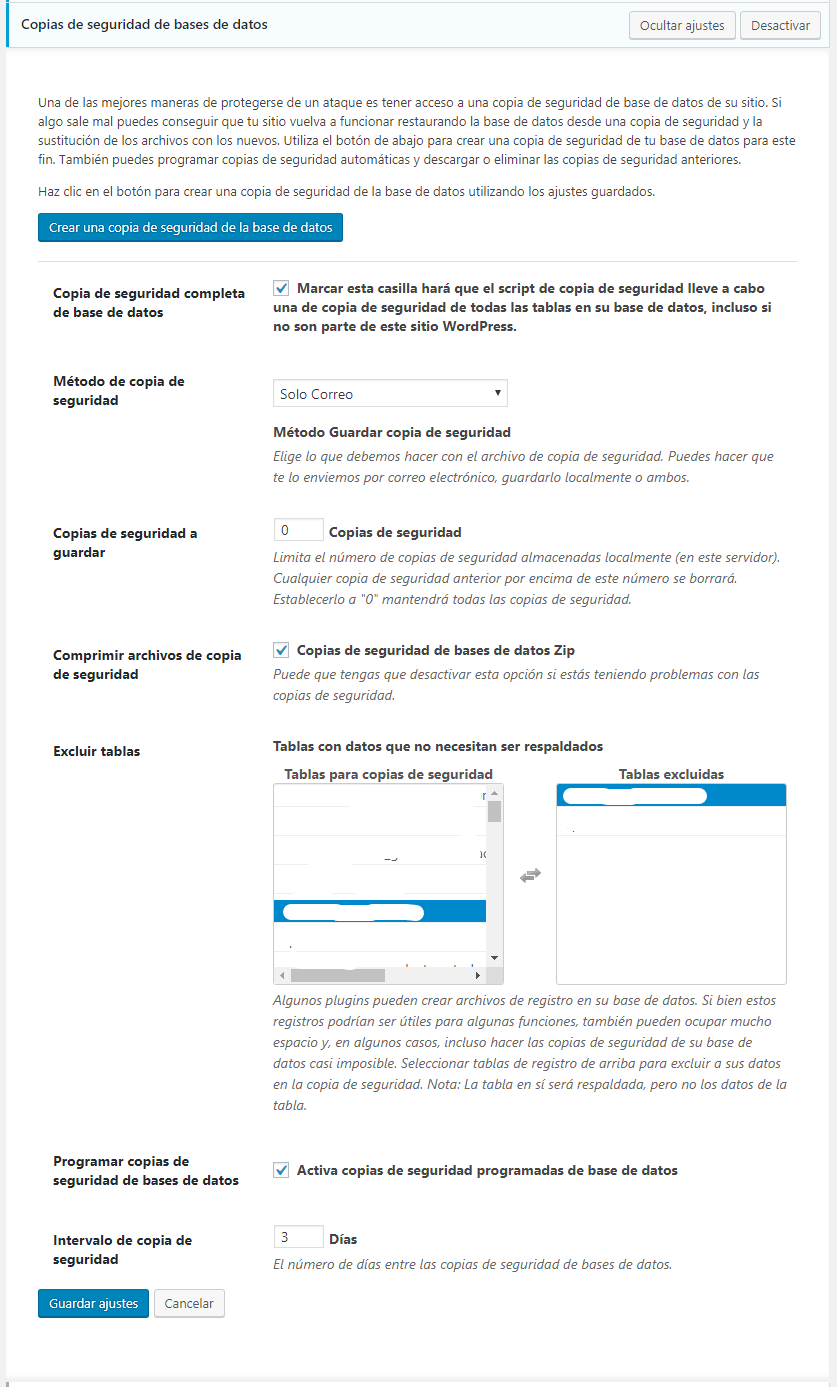
The default backup interval is 3 days, I recommend that you upload it, normally I use 7 days.
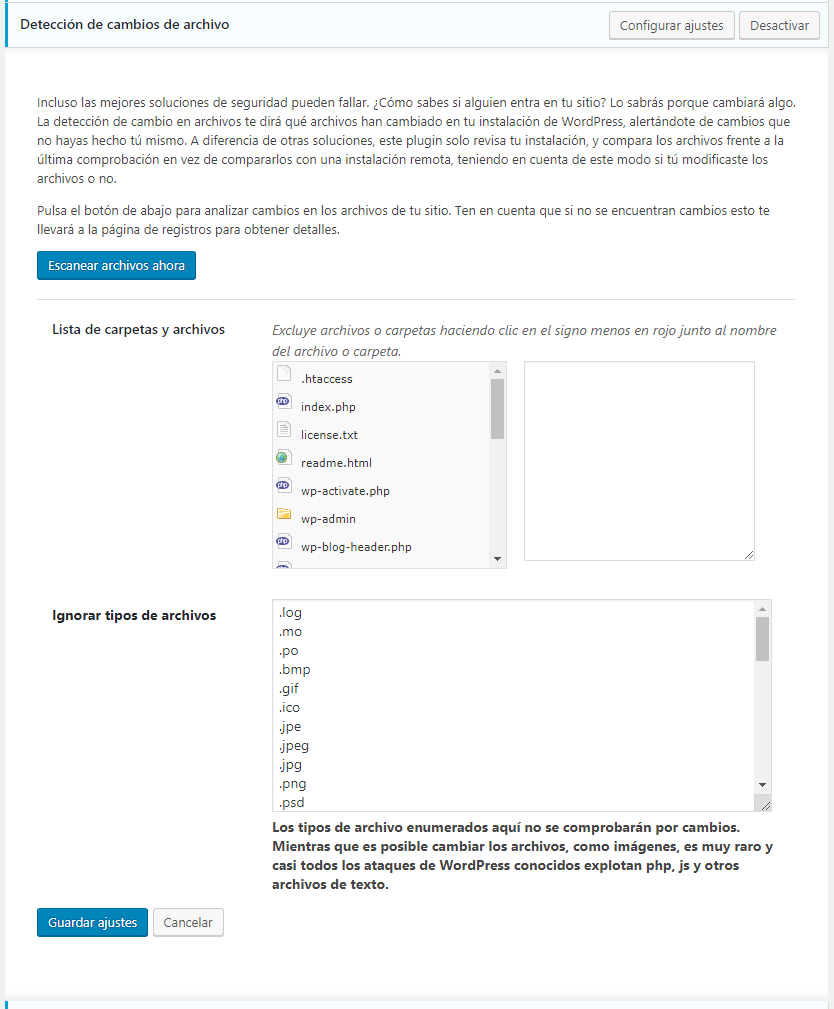
File Change Detection
If you are familiar with WordPress and want to be absolutely sure that your site is secure, turn it on. Every time a change is made to your site's files you will receive an email of everything that has happened on your site. Most of the time they are changes in logs, so it is not quite a useful tool.
file permissions
Here they only show you the permissions of the most important files on your site, there is nothing to configure, we move on to the next step.
hide desktop
With this box you can change the access of your site, it will no longer be / Wp-admin, so if you are as clueless and forgetful as I am, do not change it, because if you do not remember you will not be able to enter. Hackers will have it harder but, if the rest of the options are well configured, it is unnecessary to change this access.
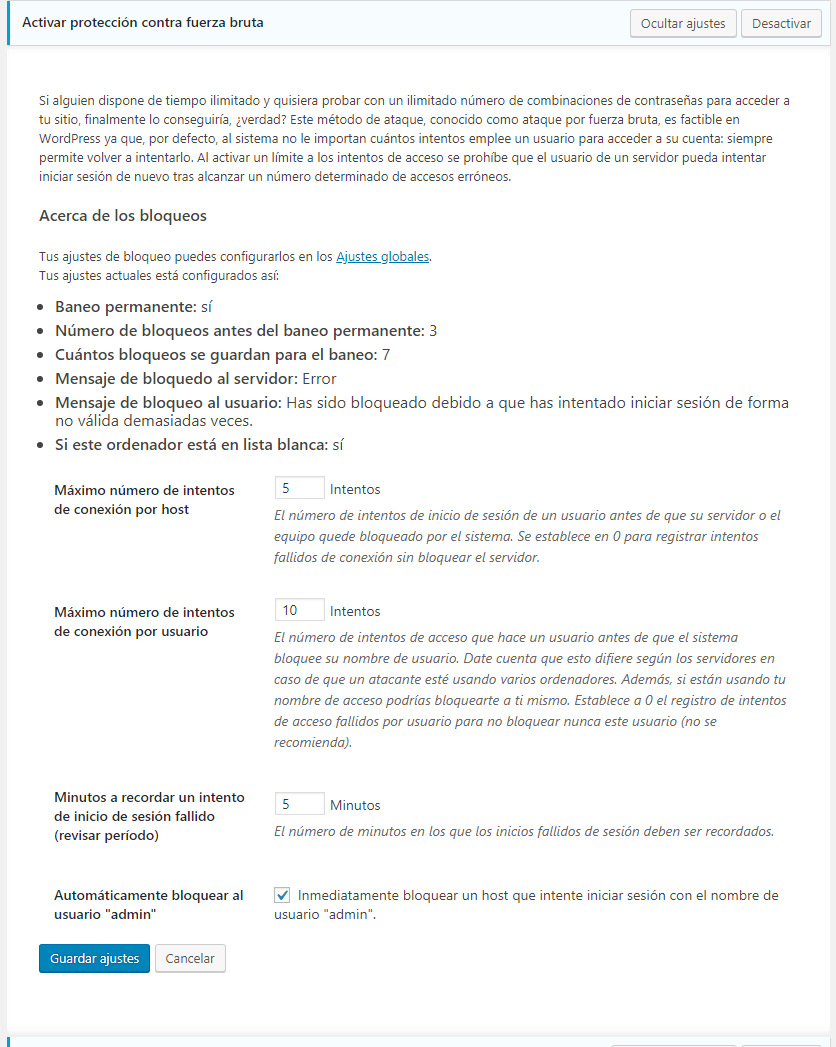
Activate brute force protection
This Yes. With this we avoid the vast majority of attacks that your site could receive.
The only detail that must be taken into account is that if your administrator user is admin (bad, very bad) do not activate the last box, because it will block you every time you want to enter your site. If you have an administrator user that is not called admin, which is the default, activate it, because it is the first thing that the dark forces are going to try.
Network brute force protection
In this step you just have to put your email. Done, plain and simple.
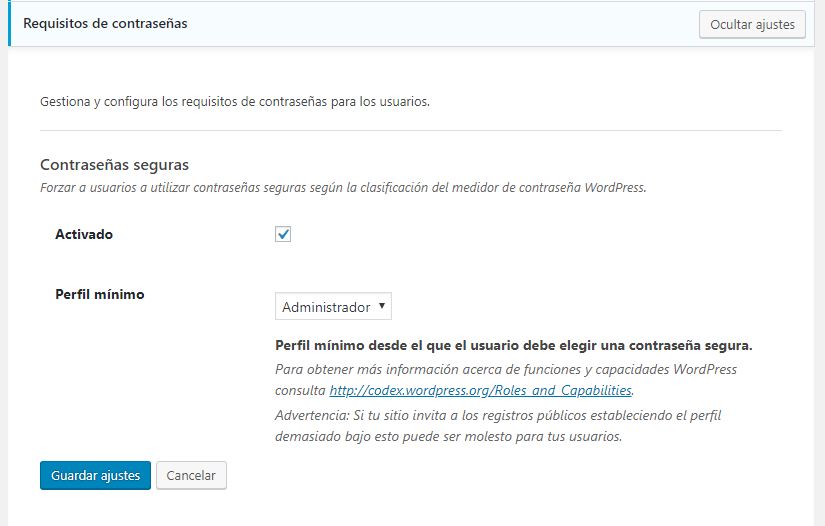
password requirements
This option is activated by default, and if you don't get it, reload the page, it is useful although it has a but. If your users are putting insecure passwords, activate it, and the next time they connect they will have to change it for a proper one. Although, if this is going to wreak havoc on your site and you're going to have to keep changing other users' passwords twice a week, then stay away.
SSL
Do not touch itNot even if they pay you. It gives more problems than solutions. Trust another plugin for this.
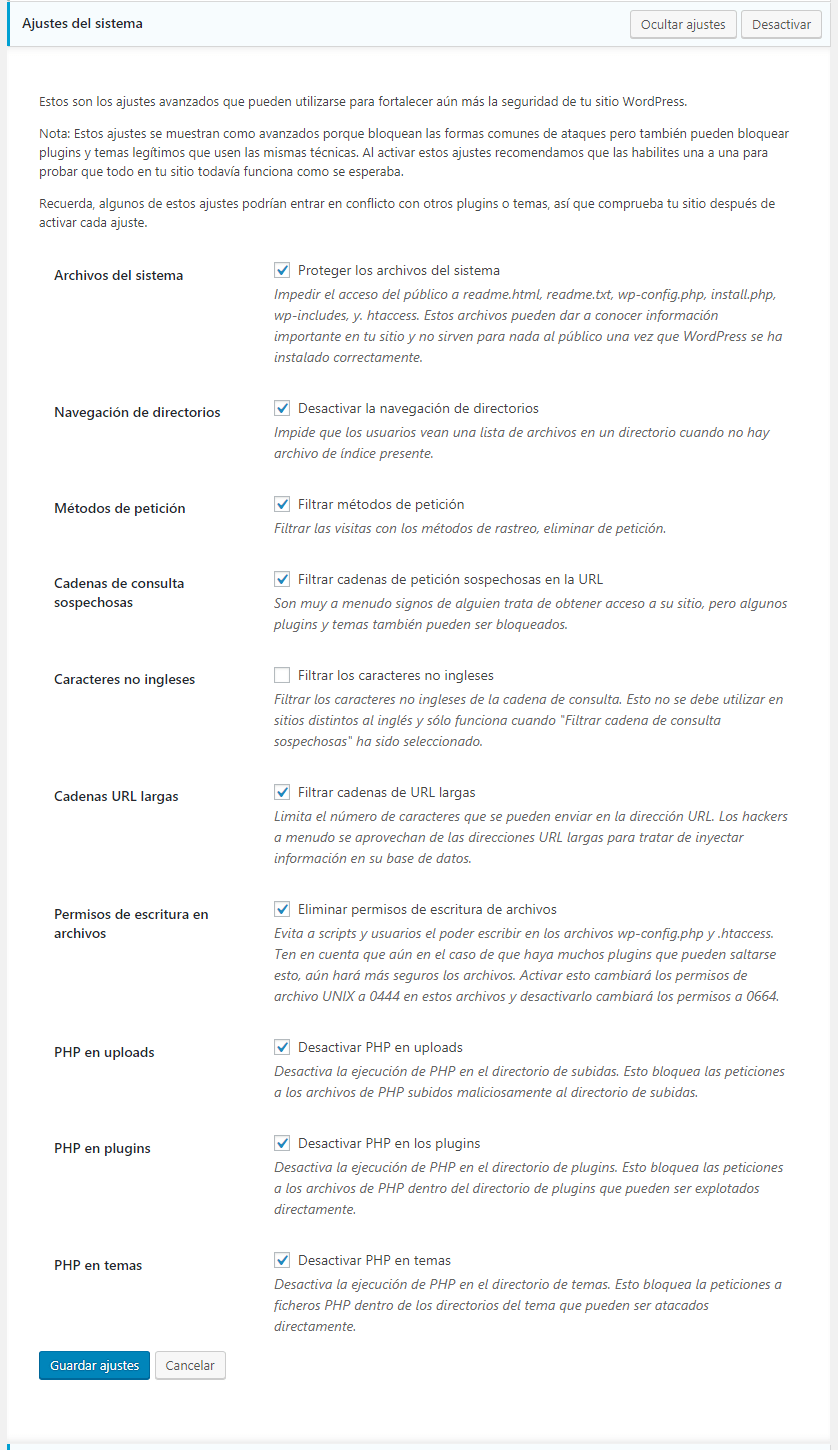
System settings
Setup iThemes Security 2019 without enabling this option it is unthinkable, but it comes disabled and it makes 0 sense for it to appear like this. The only thing I do not recommend is that you activate the Filter non-English characters, unless your site is completely in English. This option prevents a character that is not in the English alphabet from appearing in the URL. Poor Ñ.
WordPress Salts
Absolutely nothing to do here.
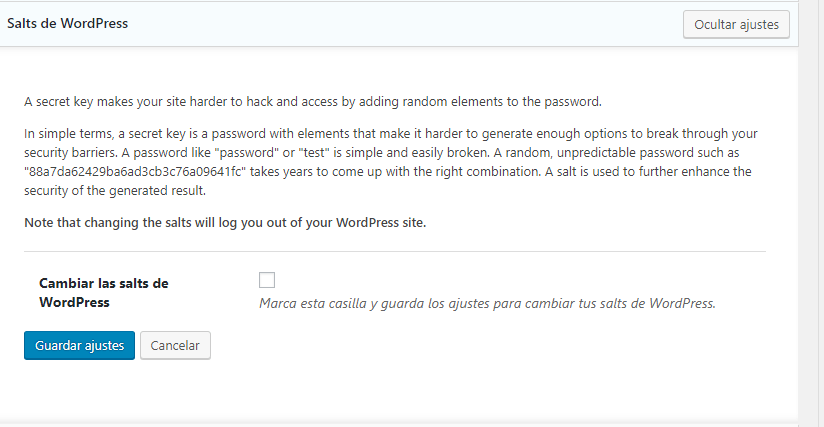
So useless that it's not even translated, imagine.
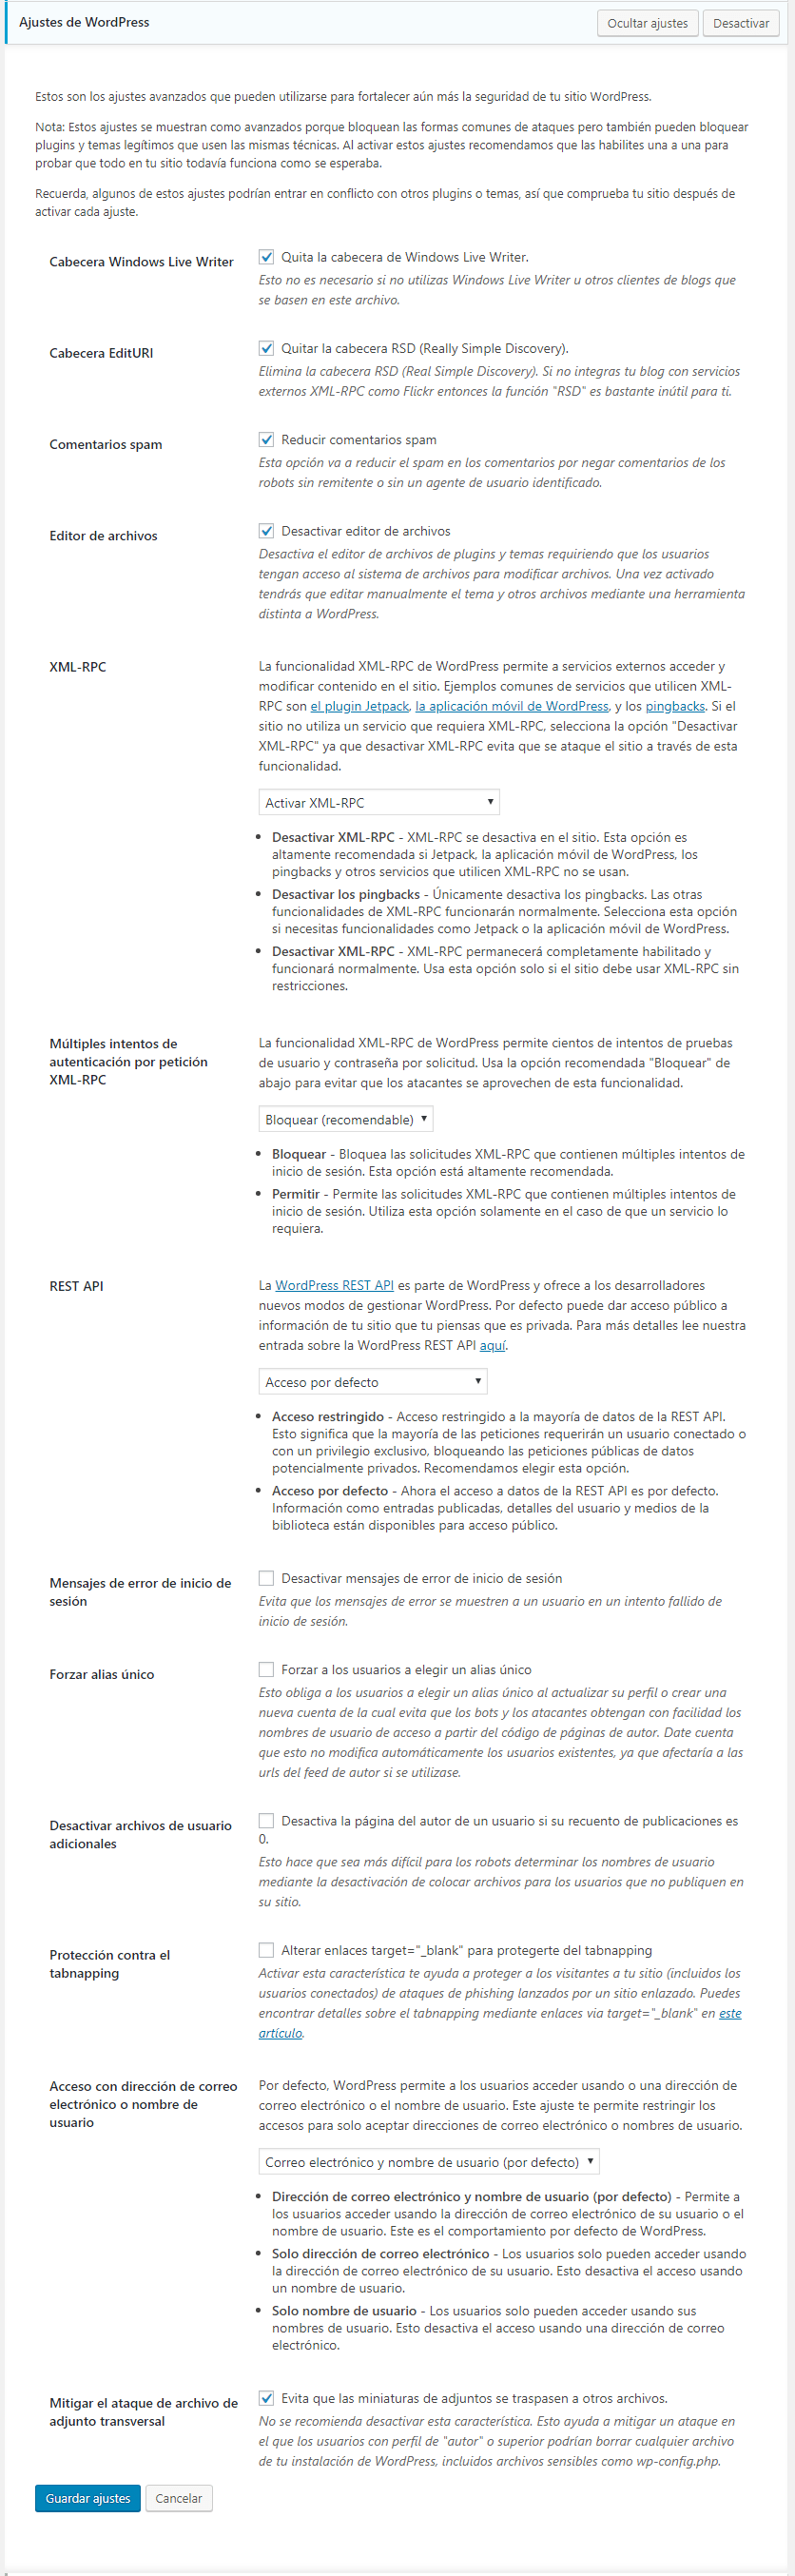
WordPress Settings
In this step you have to activate practically everything. The only thing that is questionable is the REST API , that if your site uses any, do not restrict it.
Records!
Every time something malicious happens we will have the history here. From backup copies, blocked access, blocked spam... a long etcetera.
go PRO
Humanity lives not only on air, so if we go to this option it will redirect us to its website to contract the PRO package. Adds 1 year of ticket support, 1 year of plugin updates, and 10 sites synced with iThemes Sync. It remains in your pocket to know if it is useful or not.
Finish Configuring iThemes Security 2019
Finally, I recommend some practices that I always take and prevent me from headaches.
- Look at the mail in which we receive notifications regularly, this is where all the information will reach us.
- If you suddenly see a problem with a plugin, it could be because conflicts with iThemes Security.
- If you drown in a sea of emails notifying things, turn off emails.
For greater security of your WordPress or WooCommerce, take a look at our maintenance plans and start living in peace.
¡Subscribe to our newsletter and receive our offers, news and discounts directly to your email!